
Material Notes / Veneer Craft
How to Match Wood Grain Across Drawer Fronts
Imagine a low oak cabinet behind a boutique counter. With the drawers closed, a customer can follow a dark curve down the top drawer until it meets the first gap. On the drawer below, the curve picks up several inches to the left. Each front looks good on its own. Together they draw the eye to a joint the designer meant to keep quiet. The place to resolve that detail is on the drawing, while the woodworker can still choose where to cut.
Veneer matching for drawer fronts involves two decisions. First, how will the individual sheets of veneer, called leaves, meet on a single face? Second, which part of that face or sequence will appear on each drawer? Specifying a book match answers the first question. To answer the second, draw the closed cabinet and follow one recognizable grain line across it.
White oak for matching drawer fronts
Request a quote for white oak drawer fronts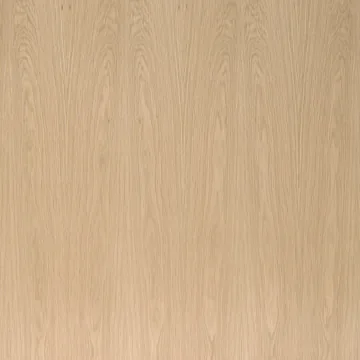
What book matching and slip matching change
Picture two consecutive leaves laid on a bench. Turn one over at their common edge and a sweep of grain on the first leaf has a near mirror image on the second. This is a book match. Slide the second leaf alongside the first with the same side facing up and the figure repeats in the same direction. This is a slip match. The wood itself supplies the variation, so even consecutive leaves can differ. Architectural Forest Products illustrates both arrangements in its matching guide. [1]
On a narrow drawer, the position of the splice can matter as much as the choice of match. Put a pair of sweeping lines in the middle and they can frame a single pull. Shift that splice close to one end and one half of the figure may almost disappear when the face is trimmed. Lay a paper window the size of the finished front over the proposed veneer. Moving it a little often settles a debate that a species name cannot.
Follow one grain line through three closed drawers
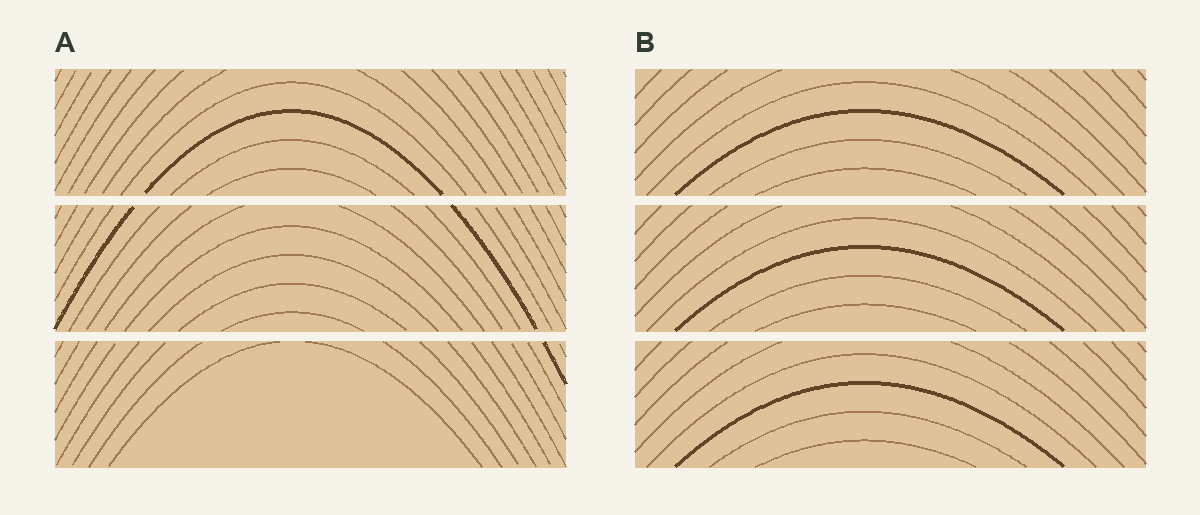
Take three stacked fronts with the grain running vertically. One way to plan them is to lay out the whole stack on one oversized veneered blank and assign a zone to each front. Number the zones from top to bottom. After cutting and fitting, a line that leaves the bottom of the first front should reappear near that position at the top of the next. The viewer can follow the overall sweep even where the gap hides a short section.
Now try centering a similar arch separately on every drawer. The result has three distinct beats, like a row of identical display niches turned upright. That can work well when each drawer belongs to a different product family. In the illustration, follow the darker line from top to bottom on the left, then do the same on the right. Decide which reading suits the furniture before asking the shop to price the two layouts.
Allow for the saw cut and the finished gap
A saw removes a strip of material. The opening you see after installation is a separate dimension set by the furniture design. Trimming the edges or adding an edge treatment can change which part of the face remains visible. For a straight vertical line those losses may be hard to spot. A steep diagonal near a joint makes the same loss easier to see because the line also moves sideways as it travels down the face.
Try a full-size paper test on a print of the proposed layout. Cut out the fronts, remove the allowance agreed with the maker, and place the pieces at the intended clearances. Add paper shapes for handles or a finger recess. Stand where a customer or resident would normally see the cabinet. On a low sideboard the view from above may conceal a modest shift, while a dark pull squarely over the crown of an arch can become the dominant feature.
If your design also calls for a tactile surface, compare textured wood veneer for cabinet fronts. Review the relief direction alongside the grain, and assess adjacent cuts and finished gaps on a trial layout before approving the material.
Give each matching group a beginning and an end
A closed elevation can include a shallow top drawer, a pair of deeper drawers, a fixed rail and a door to the next cabinet. Outline everything that should share a pattern. A note such as “continue the marked figure across fronts A1 through A3, viewed closed” tells the shop where the sequence stops. Put an arrow on each front for grain direction and show the intended pull positions. If a fixed rail belongs to the composition, give it a number too.
This becomes especially useful at the junction of two cabinets. The Architectural Woodwork Institute treats matching within a cabinet and sequencing between cabinets separately in its guidance for flush-overlay fronts. For the Premium grade described there, sequencing between cabinets is a detail to specify. A designer can borrow that precision for a shop drawing by marking the exact transition that matters, whether the commission is a fitted wardrobe or a retail counter. [2]
Keep the layout legible on the shop floor
Ask the maker to photograph the numbered layout before the fronts are separated. Keep orientation marks on a protected back surface or on removable labels the maker considers suitable. Pair an overall photograph with a close view of the busiest joint. If two equally sized fronts change places during finishing or installation, the labels and the photograph give the installer a quick way to put them back in order.
For a shop counter that sees frequent use, discuss future replacement while the material is still laid out. A spare cut from a nearby part of the veneer can preserve a similar color and figure. The exact segment of grain on a damaged drawer belongs to that drawer. The shop and owner can decide whether a single replacement with a close visual match is acceptable, or whether to reserve enough material to remake the most visible group together.
Choose the sample at the scale of the cabinet
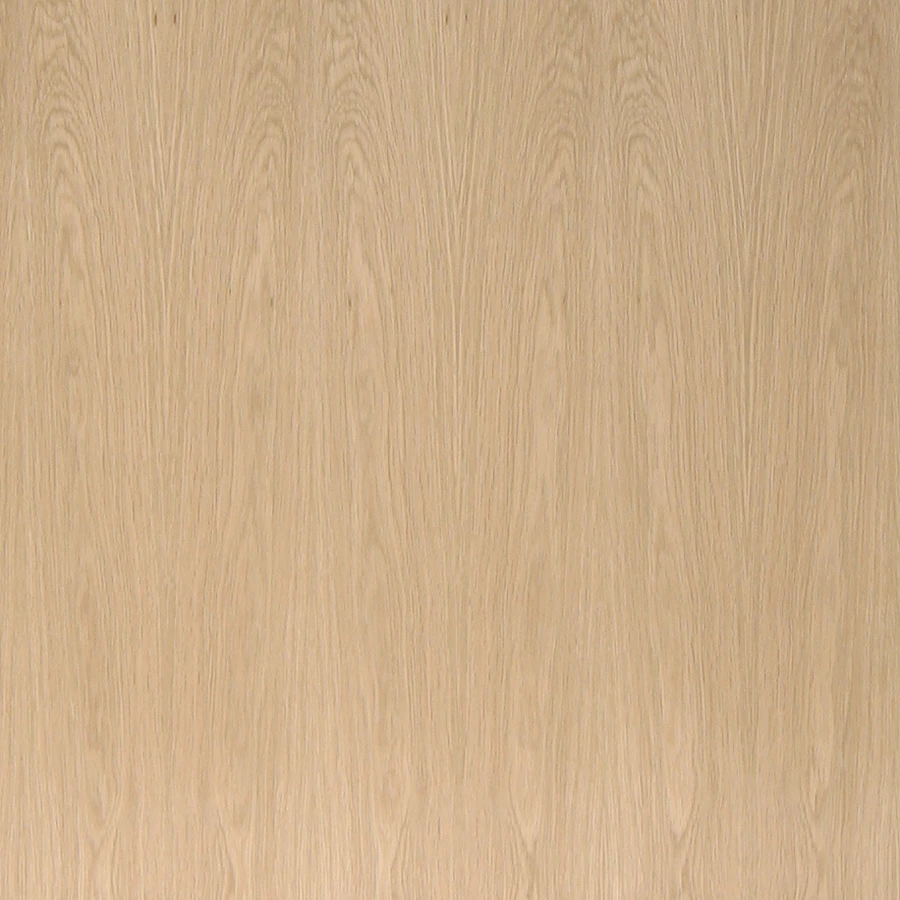
A small sample is useful for color. To judge the drawing the grain makes, ask to see a larger area with a ruler or a front outline for scale. On the KOSEE flat-cut white oak reference, pick a single crown and estimate how much of it a shallow drawer would capture. Then consider the quieter area beside it. Both are part of the same image, yet choosing one area over the other changes the character of the finished front. [3]
When requesting KOSEE veneer samples for a cabinet, include the closed elevation, the widest front and the joint you most want to align. Indicate whether the material will be judged in daylight or under the counter lighting. That gives the material supplier and woodworker a shared point of reference. At the final review, close the drawers, step back and follow the line you marked at the start.
Choose a sample from this article